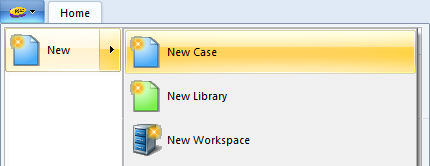
To create a new project, you do one of the following, which ever is more convenient:

The New Project dialog will appear.

The input fields for this dialog are described as follows:
Name: The name of the project. Initially when a project is created, this name will become both the namespace name and the file name of the project. Only the file name can be modified after the project is created (the project namespace is kept synchronized with the filename for case projects). See Editing Project Settings in this chapter for details.
Type: Select a Case or Library type project.
Path: Select the path to the folder, in which the new project will be created and stored.
Enter a name for the project in the Name field. A new project will appear in the workspace window. Note the rules for the name format in the New Project dialog help box.